
DIY AGATE SPUTNIK
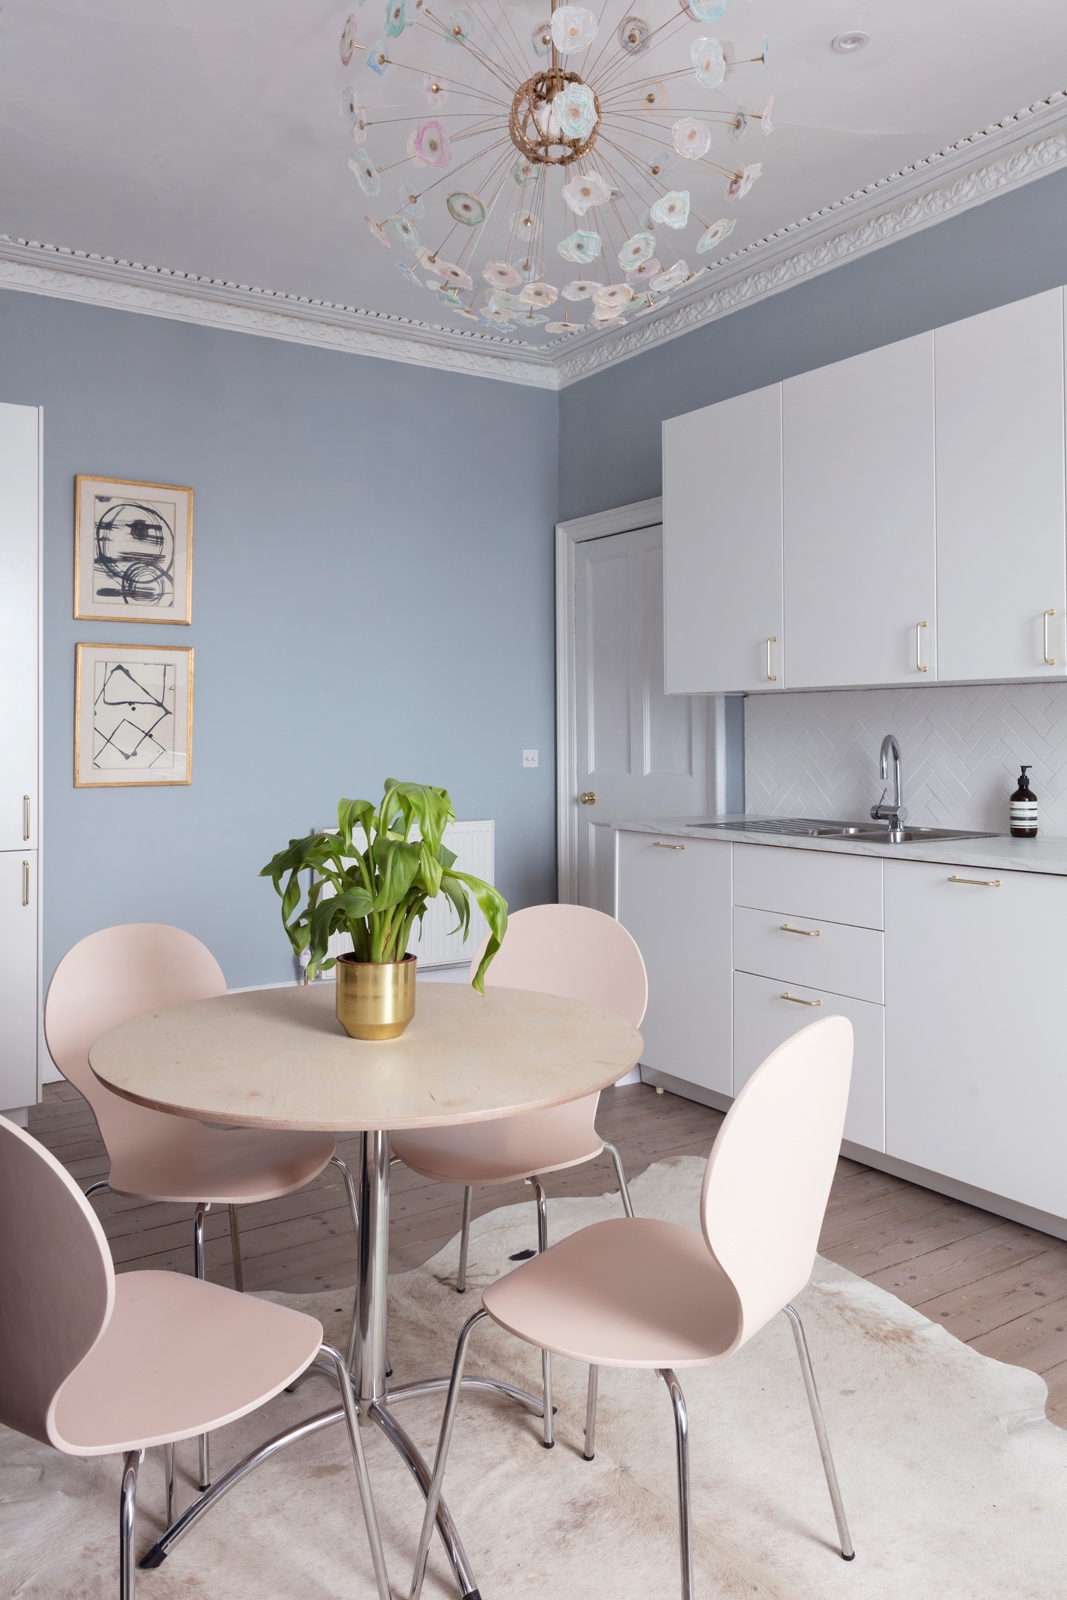
The Ikea Maskros light has been hacked many times before so I can't take all the credit for this one but when I saw an amazing agate sputnik chandelier in the Jim Thompson shop in Paris, I knew that there had to be a way to replicate it. I had seen the brilliant Jenny from Little Green Notebooks amuse bouche cup hack a few years ago, so I used this as the basis of my hack. It took me a few days to work out how I was going to create the agate lenses, I was lying awake at night imagining growing crystals on to the frame and almost went for a Capiz shells (which I think would be beautiful) but after a lot of time on Pinterest, I saw this tutorial on how to make miniature faux art glass for dolls houses. While I prefer my art full size it got me experimenting with melted plastic and here my friends, are the results of my efforts. I hope you like it!
I tried milk bottles, supermarket bags, meat boxes, all sorts but I needed a degree of regularity in the shapes so opted for plastic disposable party cups. The large Maskros has 20 branches but I only used half of them. Each branch has 8 arms, so I needed 80 faux agate's to cover the arms. I used 200ml clear plastic party cups and bought 20 extra to allow for dodgy ones and experimenting.
Step 1. DECORATE CUPS

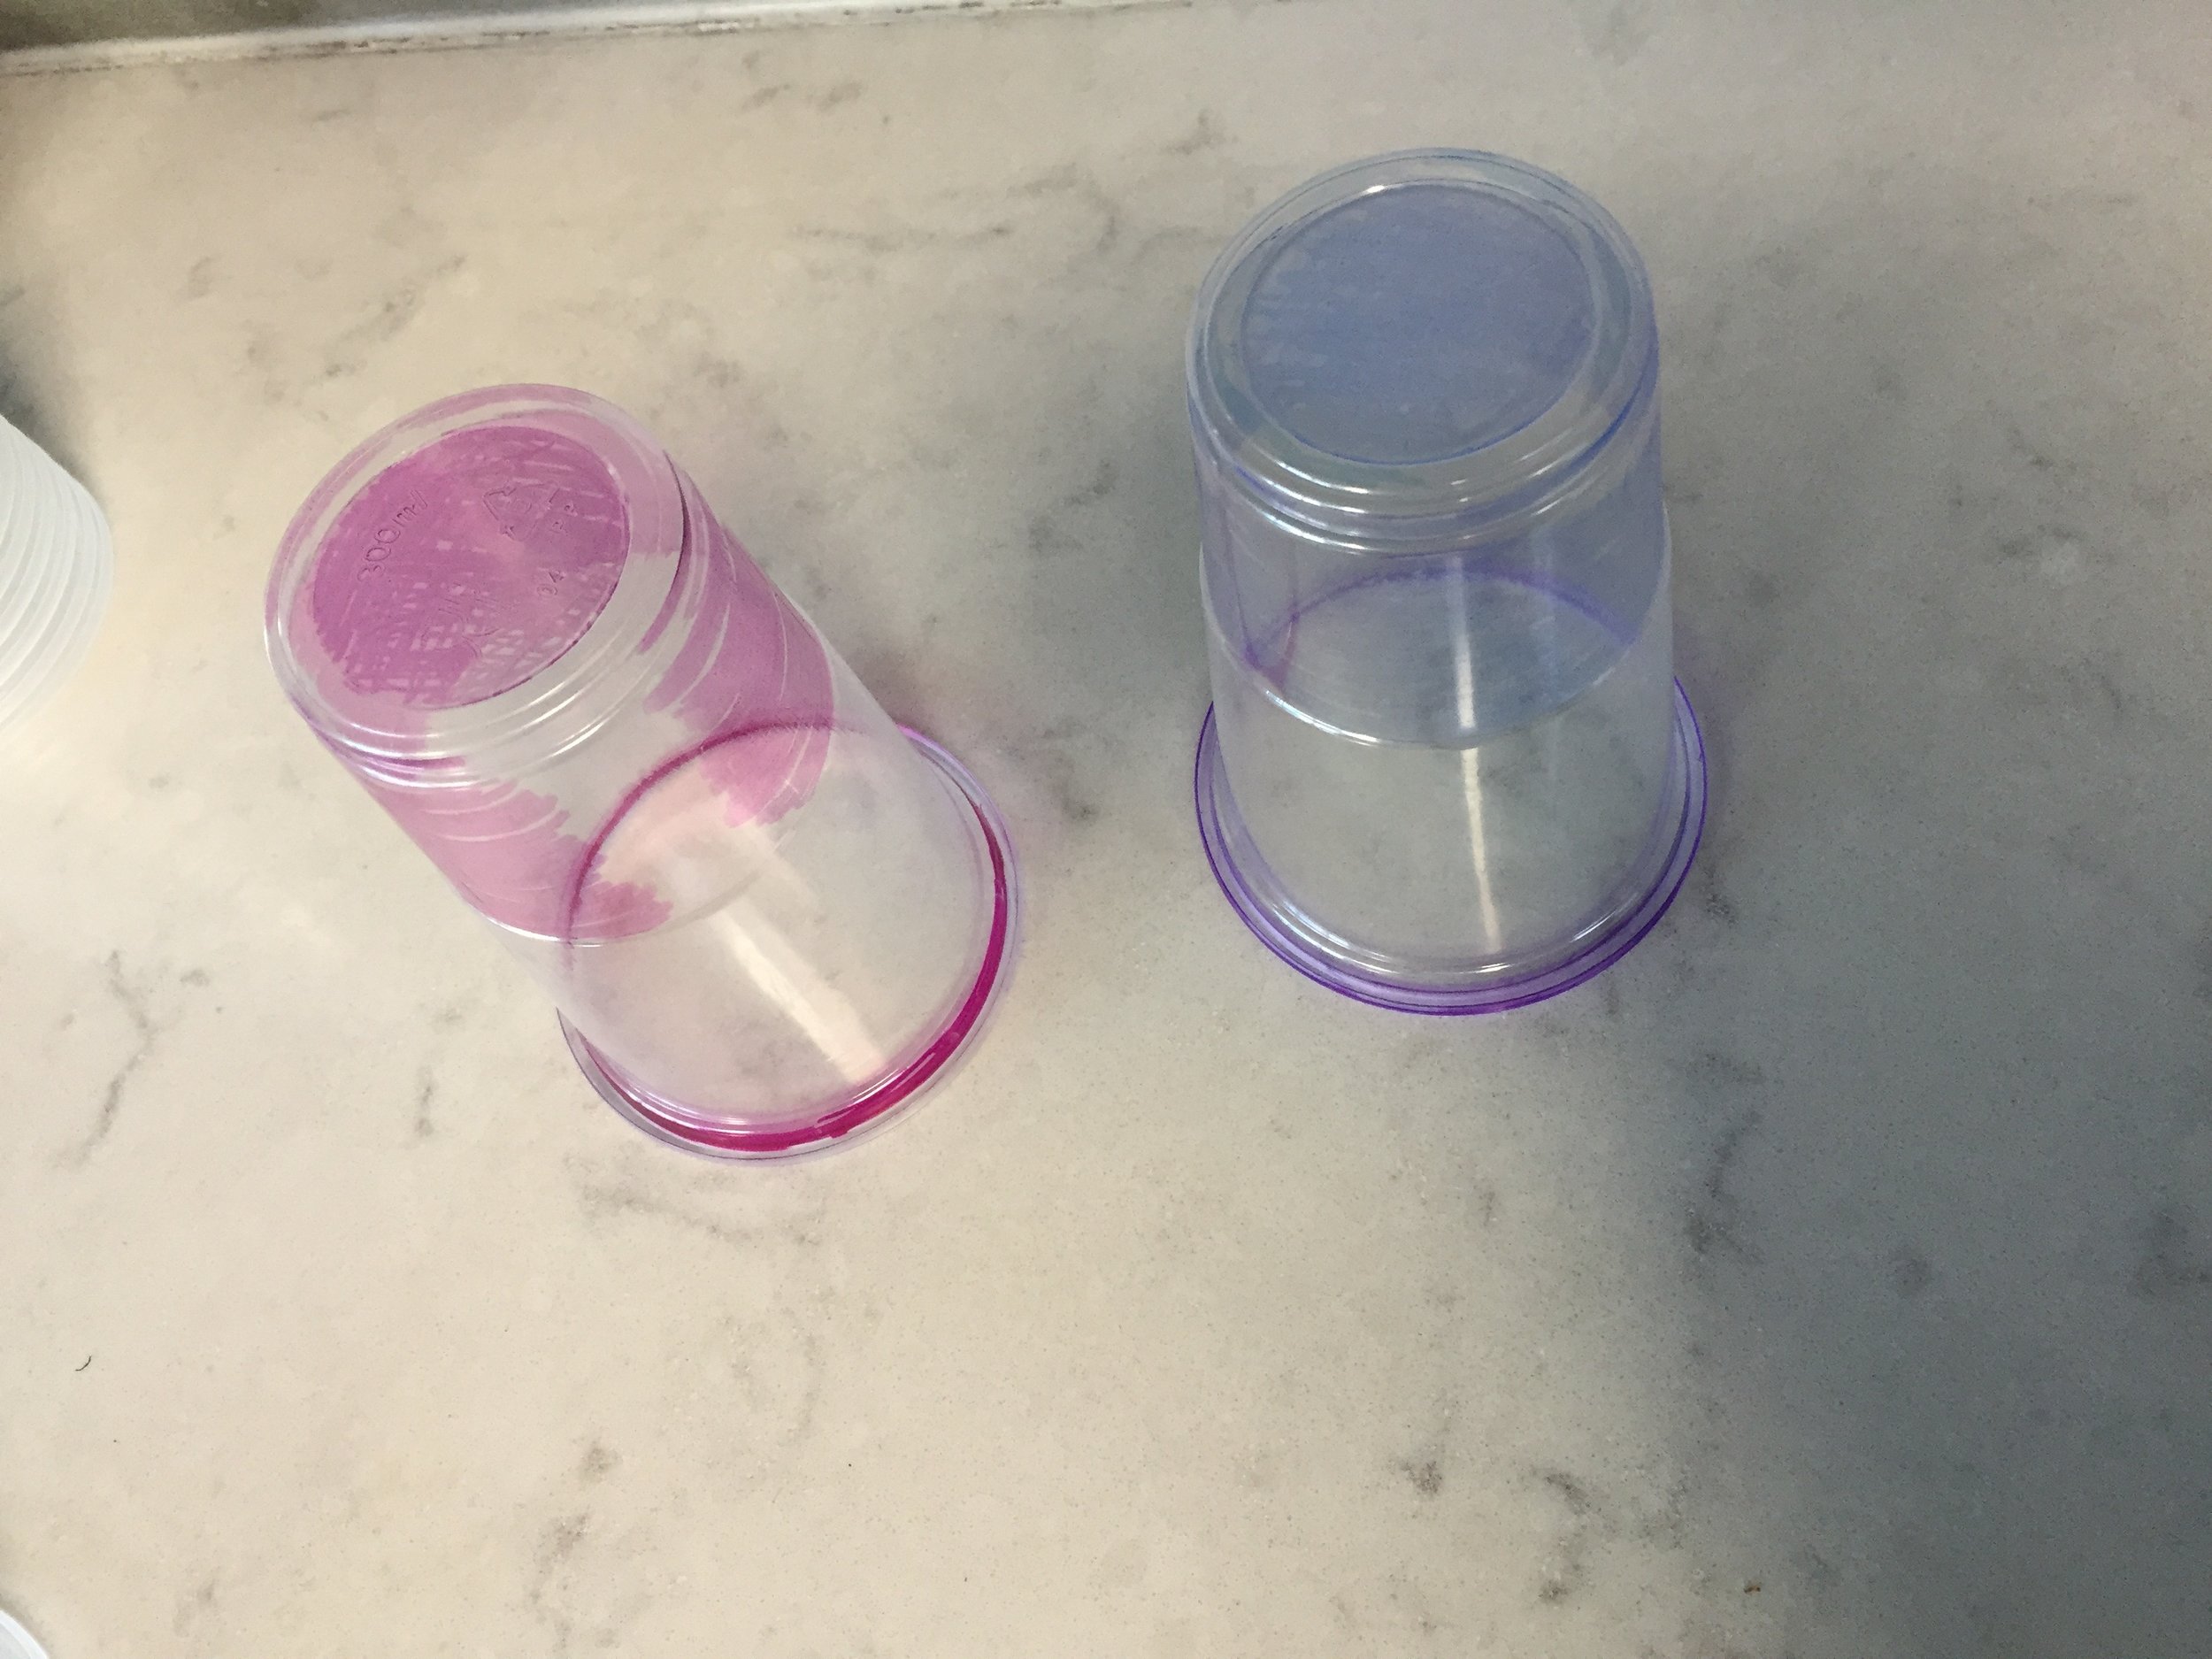
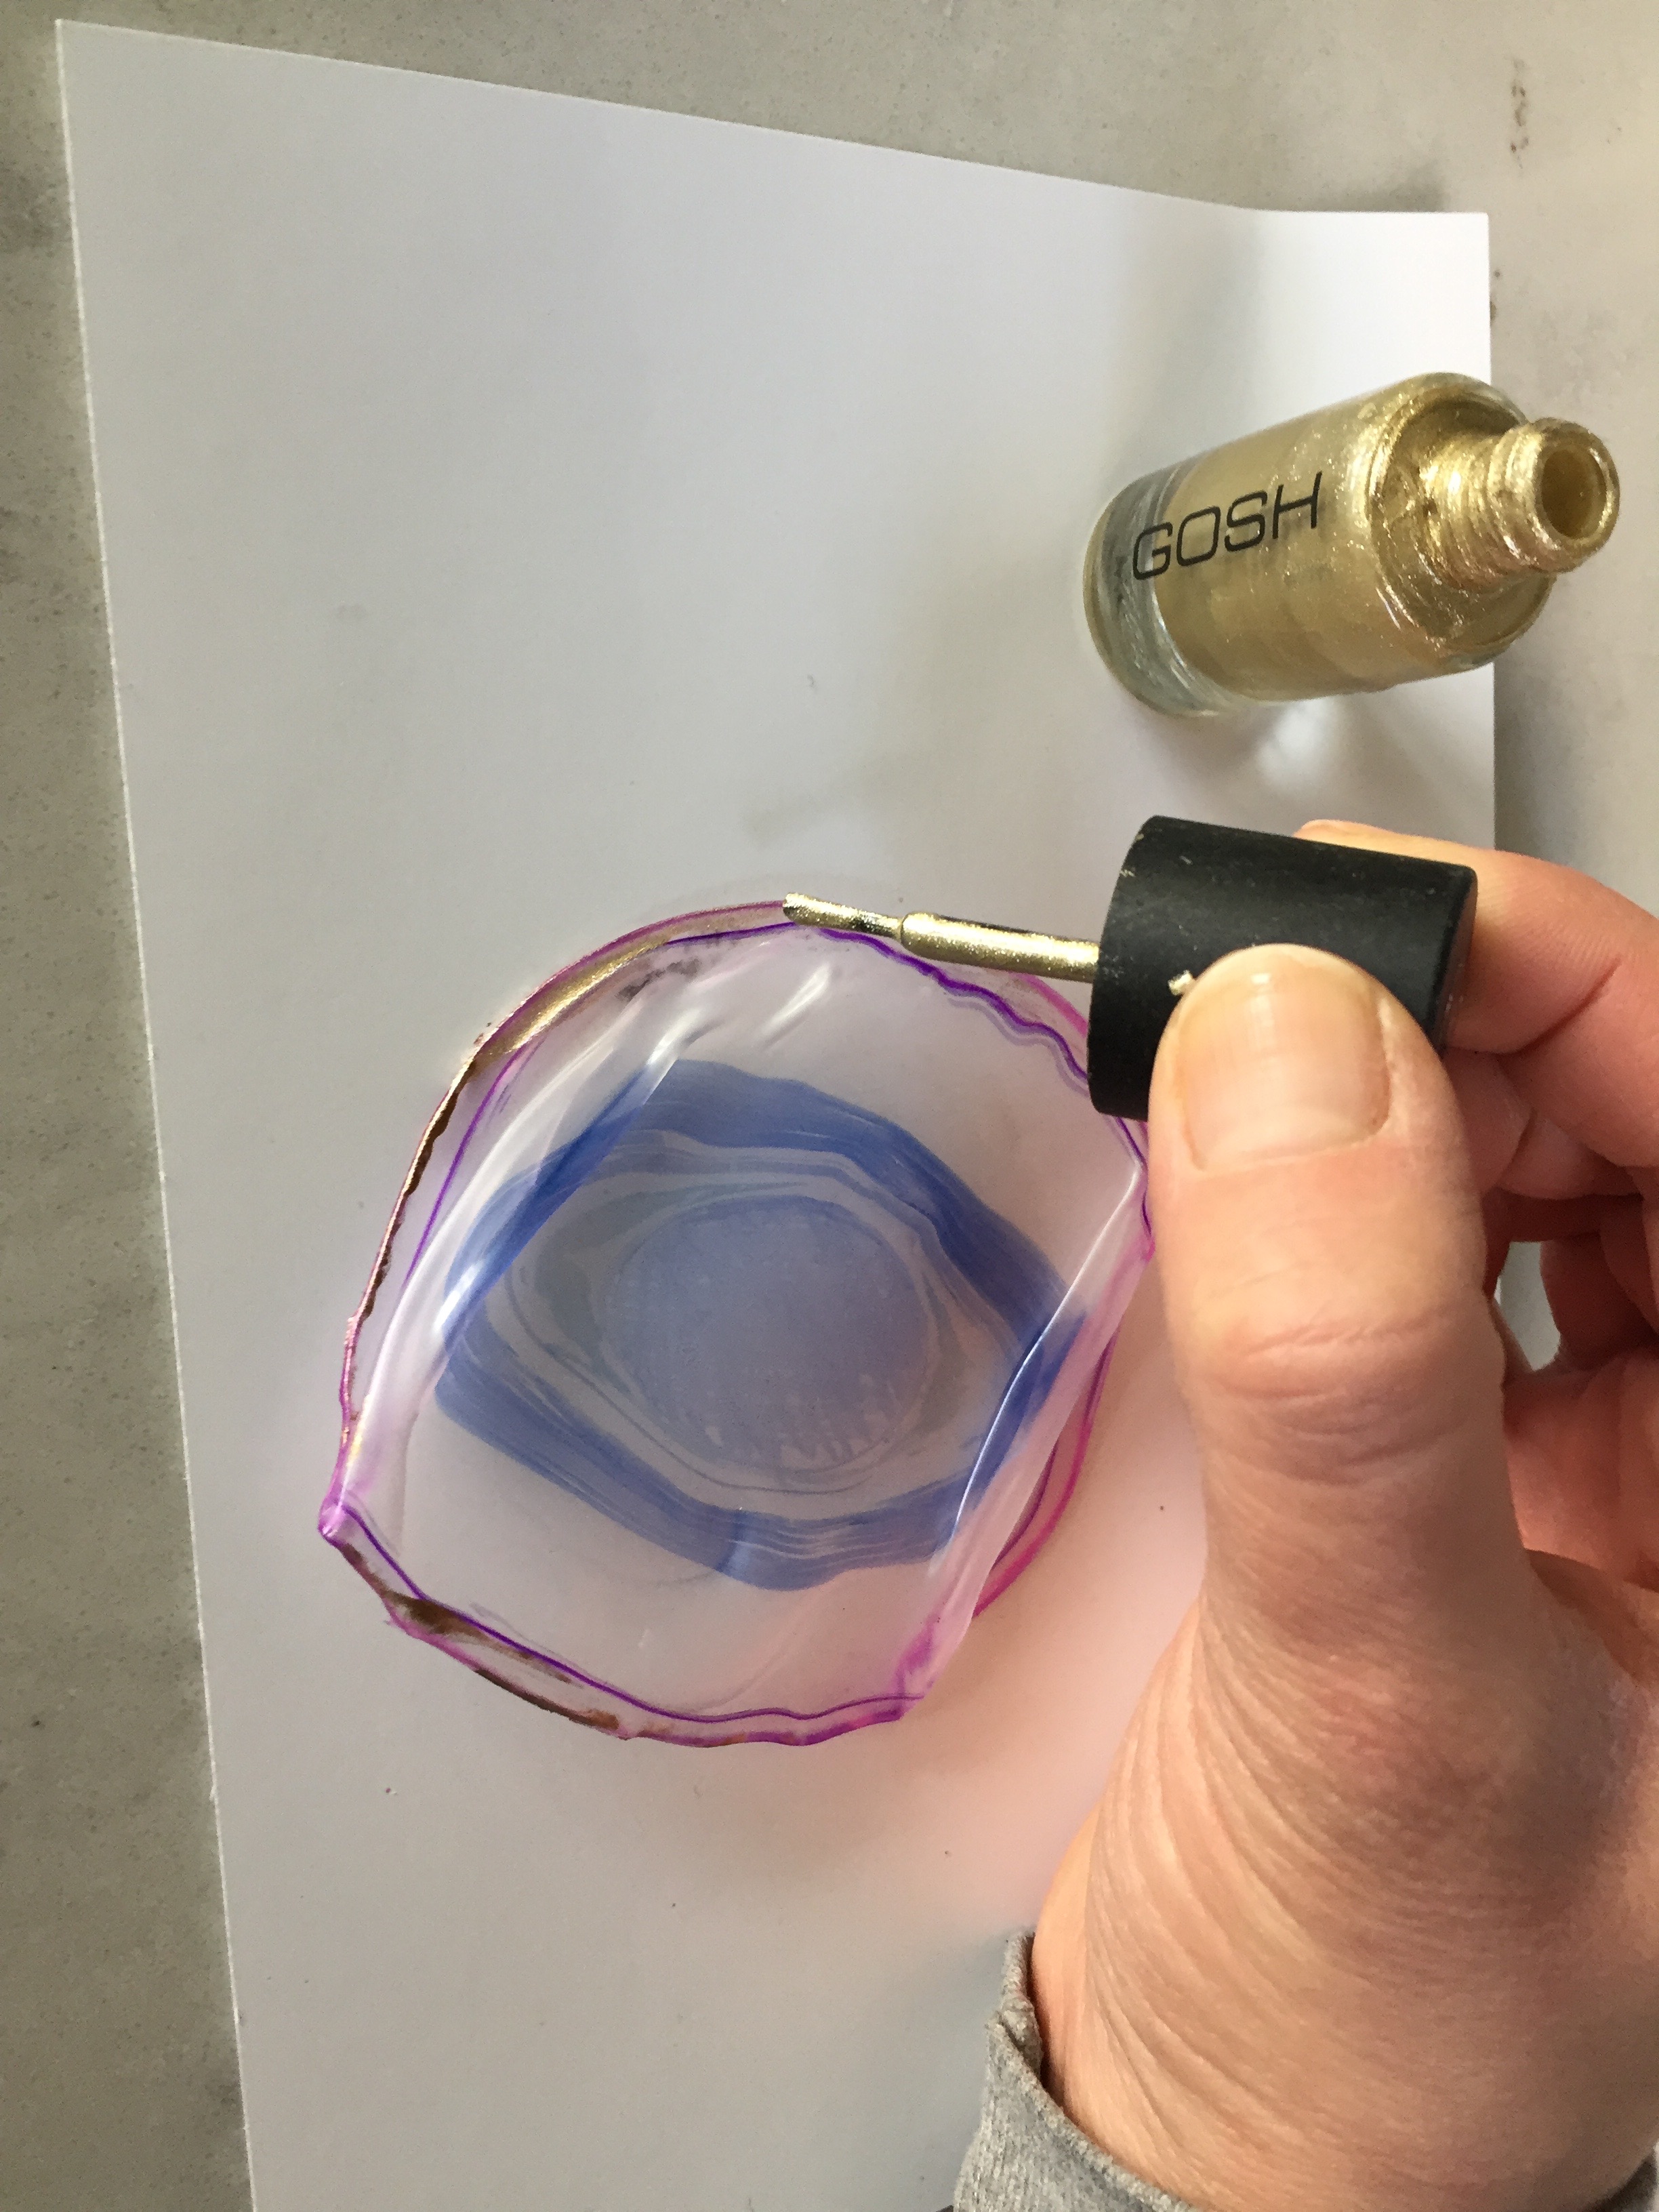
Experiment! Depending on the look you are going for, different mediums will give you different effects. I wanted the lenses to look like Murano glass with a palette of pale pinks, blues, greens and turquoises. I tried coloured Sharpies, watercolour paints, acrylic paints and nail varnish. In the end I decided that the Sharpies and watercolours gave the nicest finish. I also used gold paint on some of them before they were melted but I decided that using gold nail varnish on the lenses once they were out of the oven, was the best way to add a reflective shimmer. Remember to check your medium for flammability - no aerosols people!
TOP TIPS!
Decorate the INSIDE of the cup rather than the outside. The way the cup melts will mean that the outside of the cup will end up on the bottom and the inside will be sunny side up. The colours are clearer on the side you decorate.
Keep paint as dry as possible to preserve the painterly brush strokes.
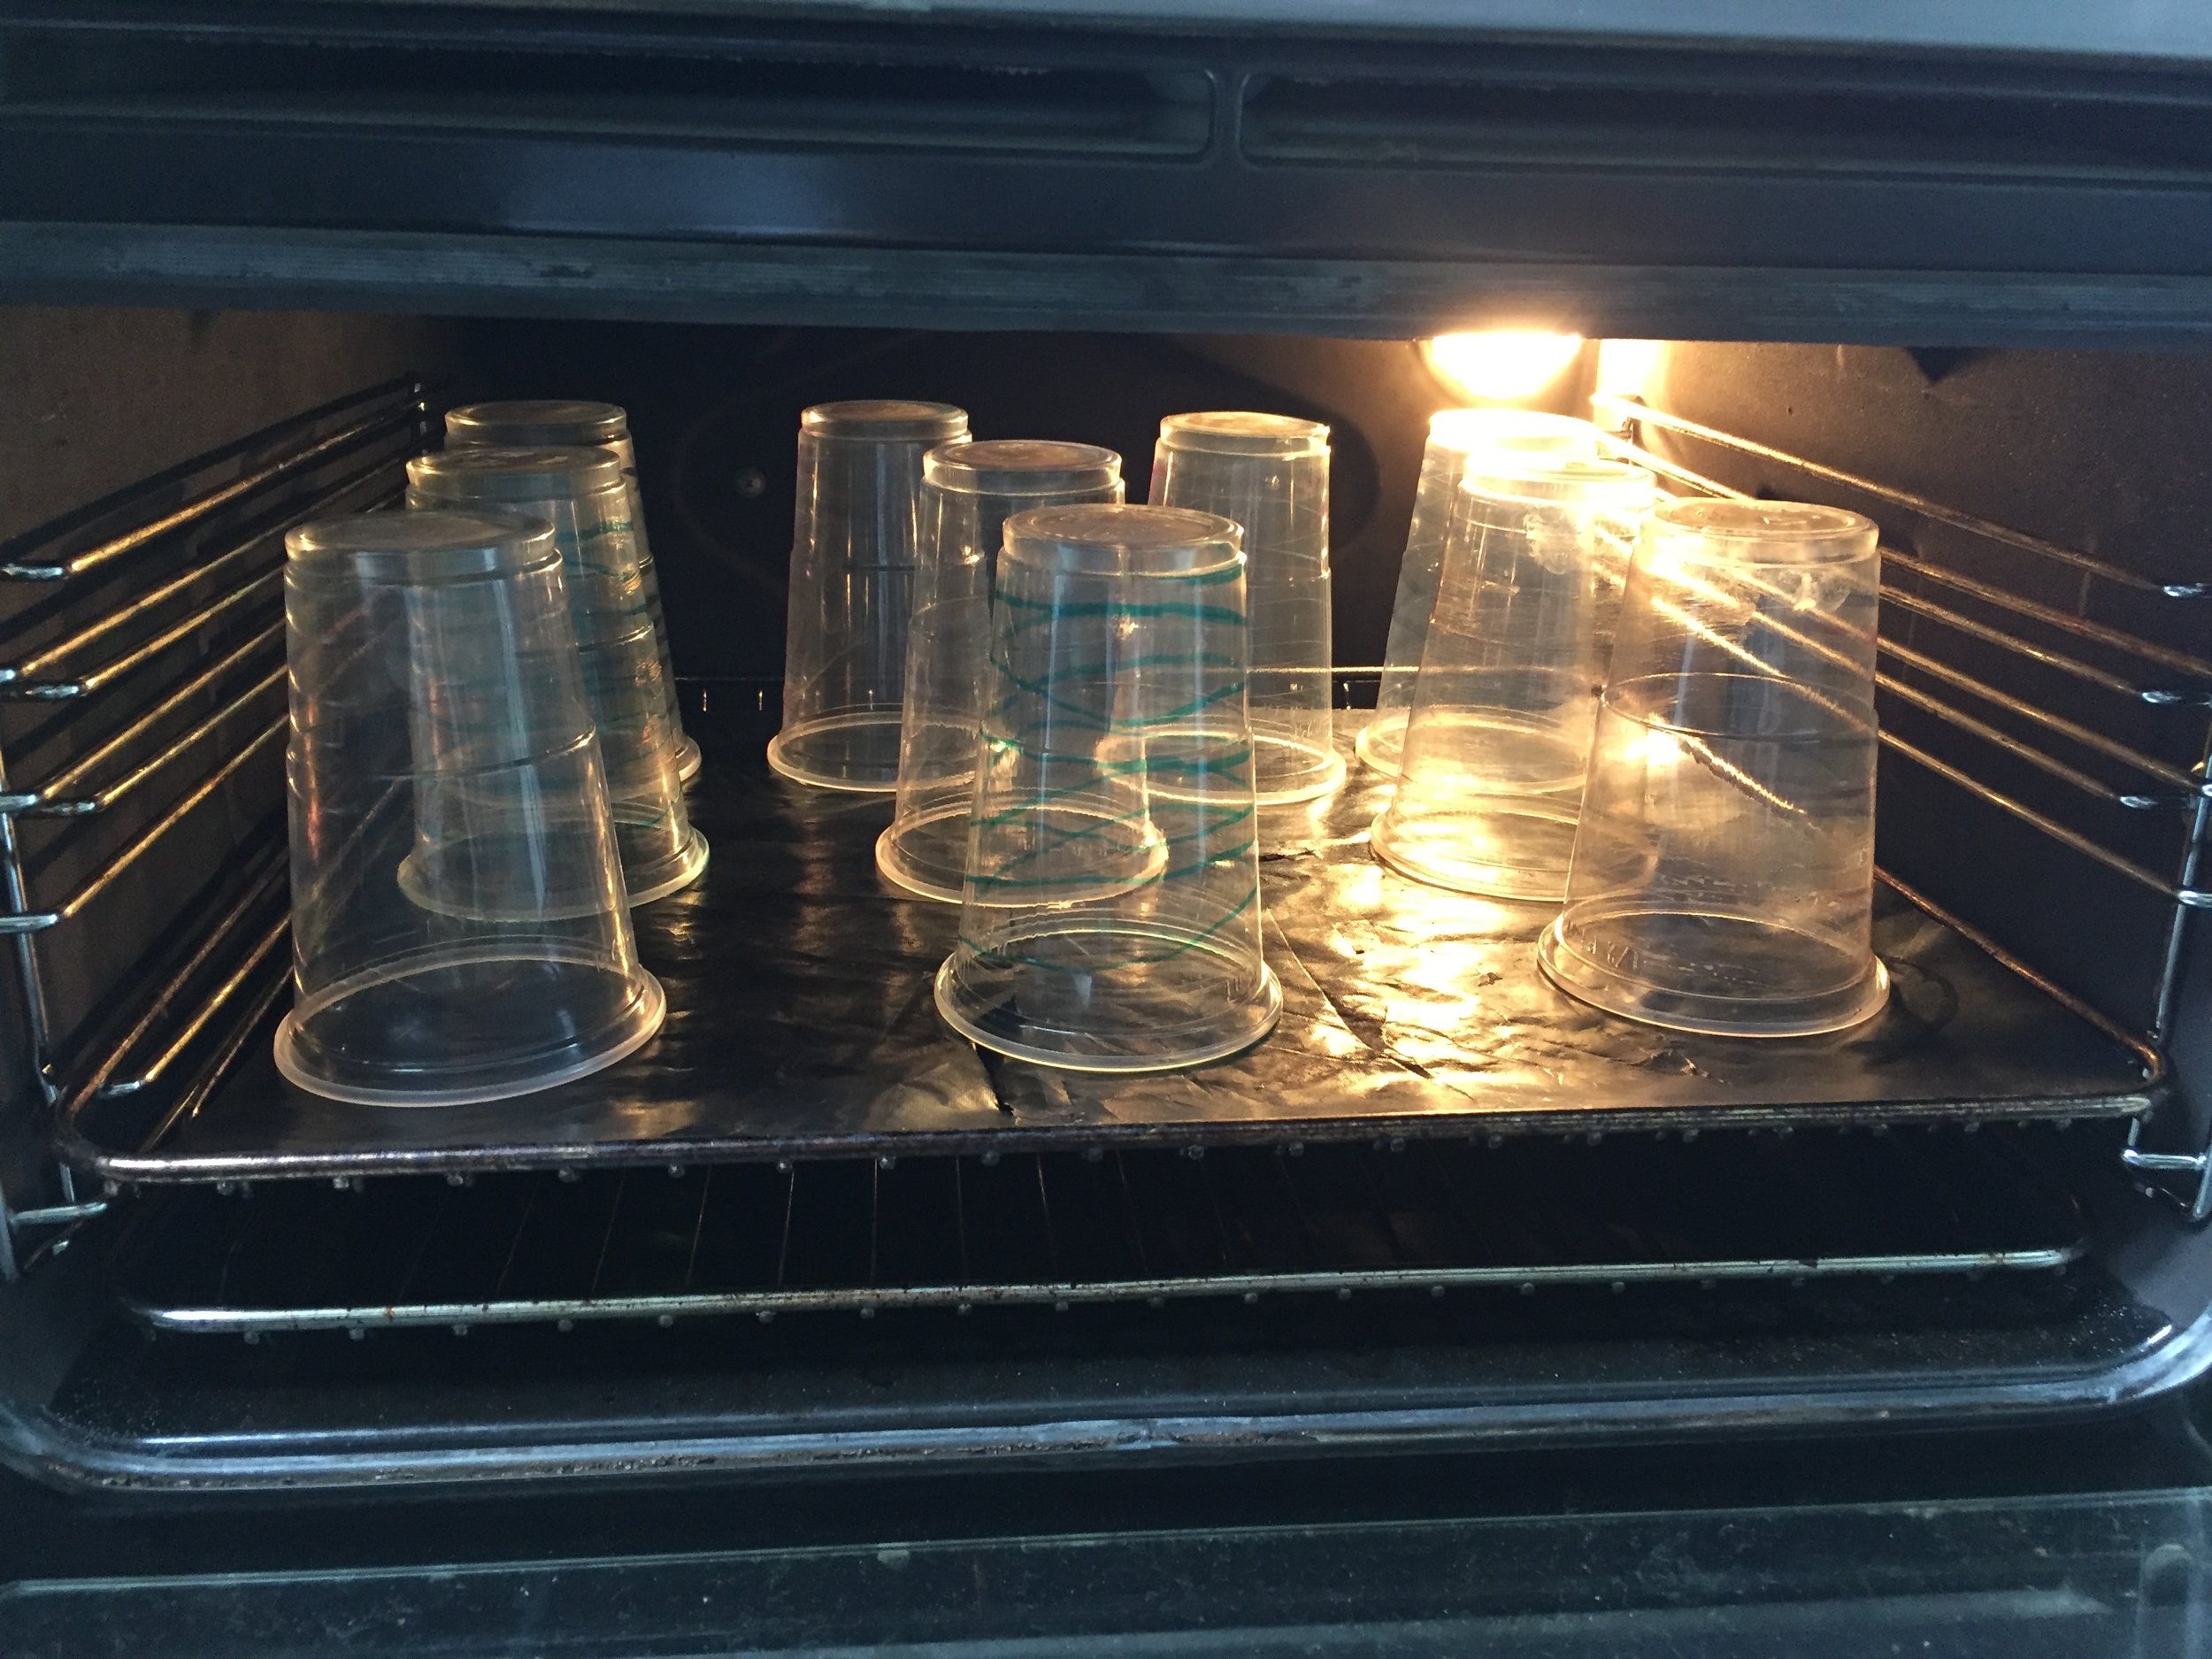
Step 2. MELT THE CUPS
I found the most efficient way to melt the cups was using a piece of silicone paper on an oven shelf rather than an oven tray. I placed the cups upside down and got 10-12 in at a time. Place the cups in at 170C for around 4 minutes - until they melt flat. Warning: Melted plastic gives off nasty odours so I recommend wearing a mask, using the fan and keep the space as ventilated as possible.
TOP TIP!
Do not use a fan oven - the cups kept getting blown over when I tried this :(
Make sure your baking sheet is completely spotless, I lost some absolute beauties because of burnt on marks from baking trays. Using greaseproof paper solved this.
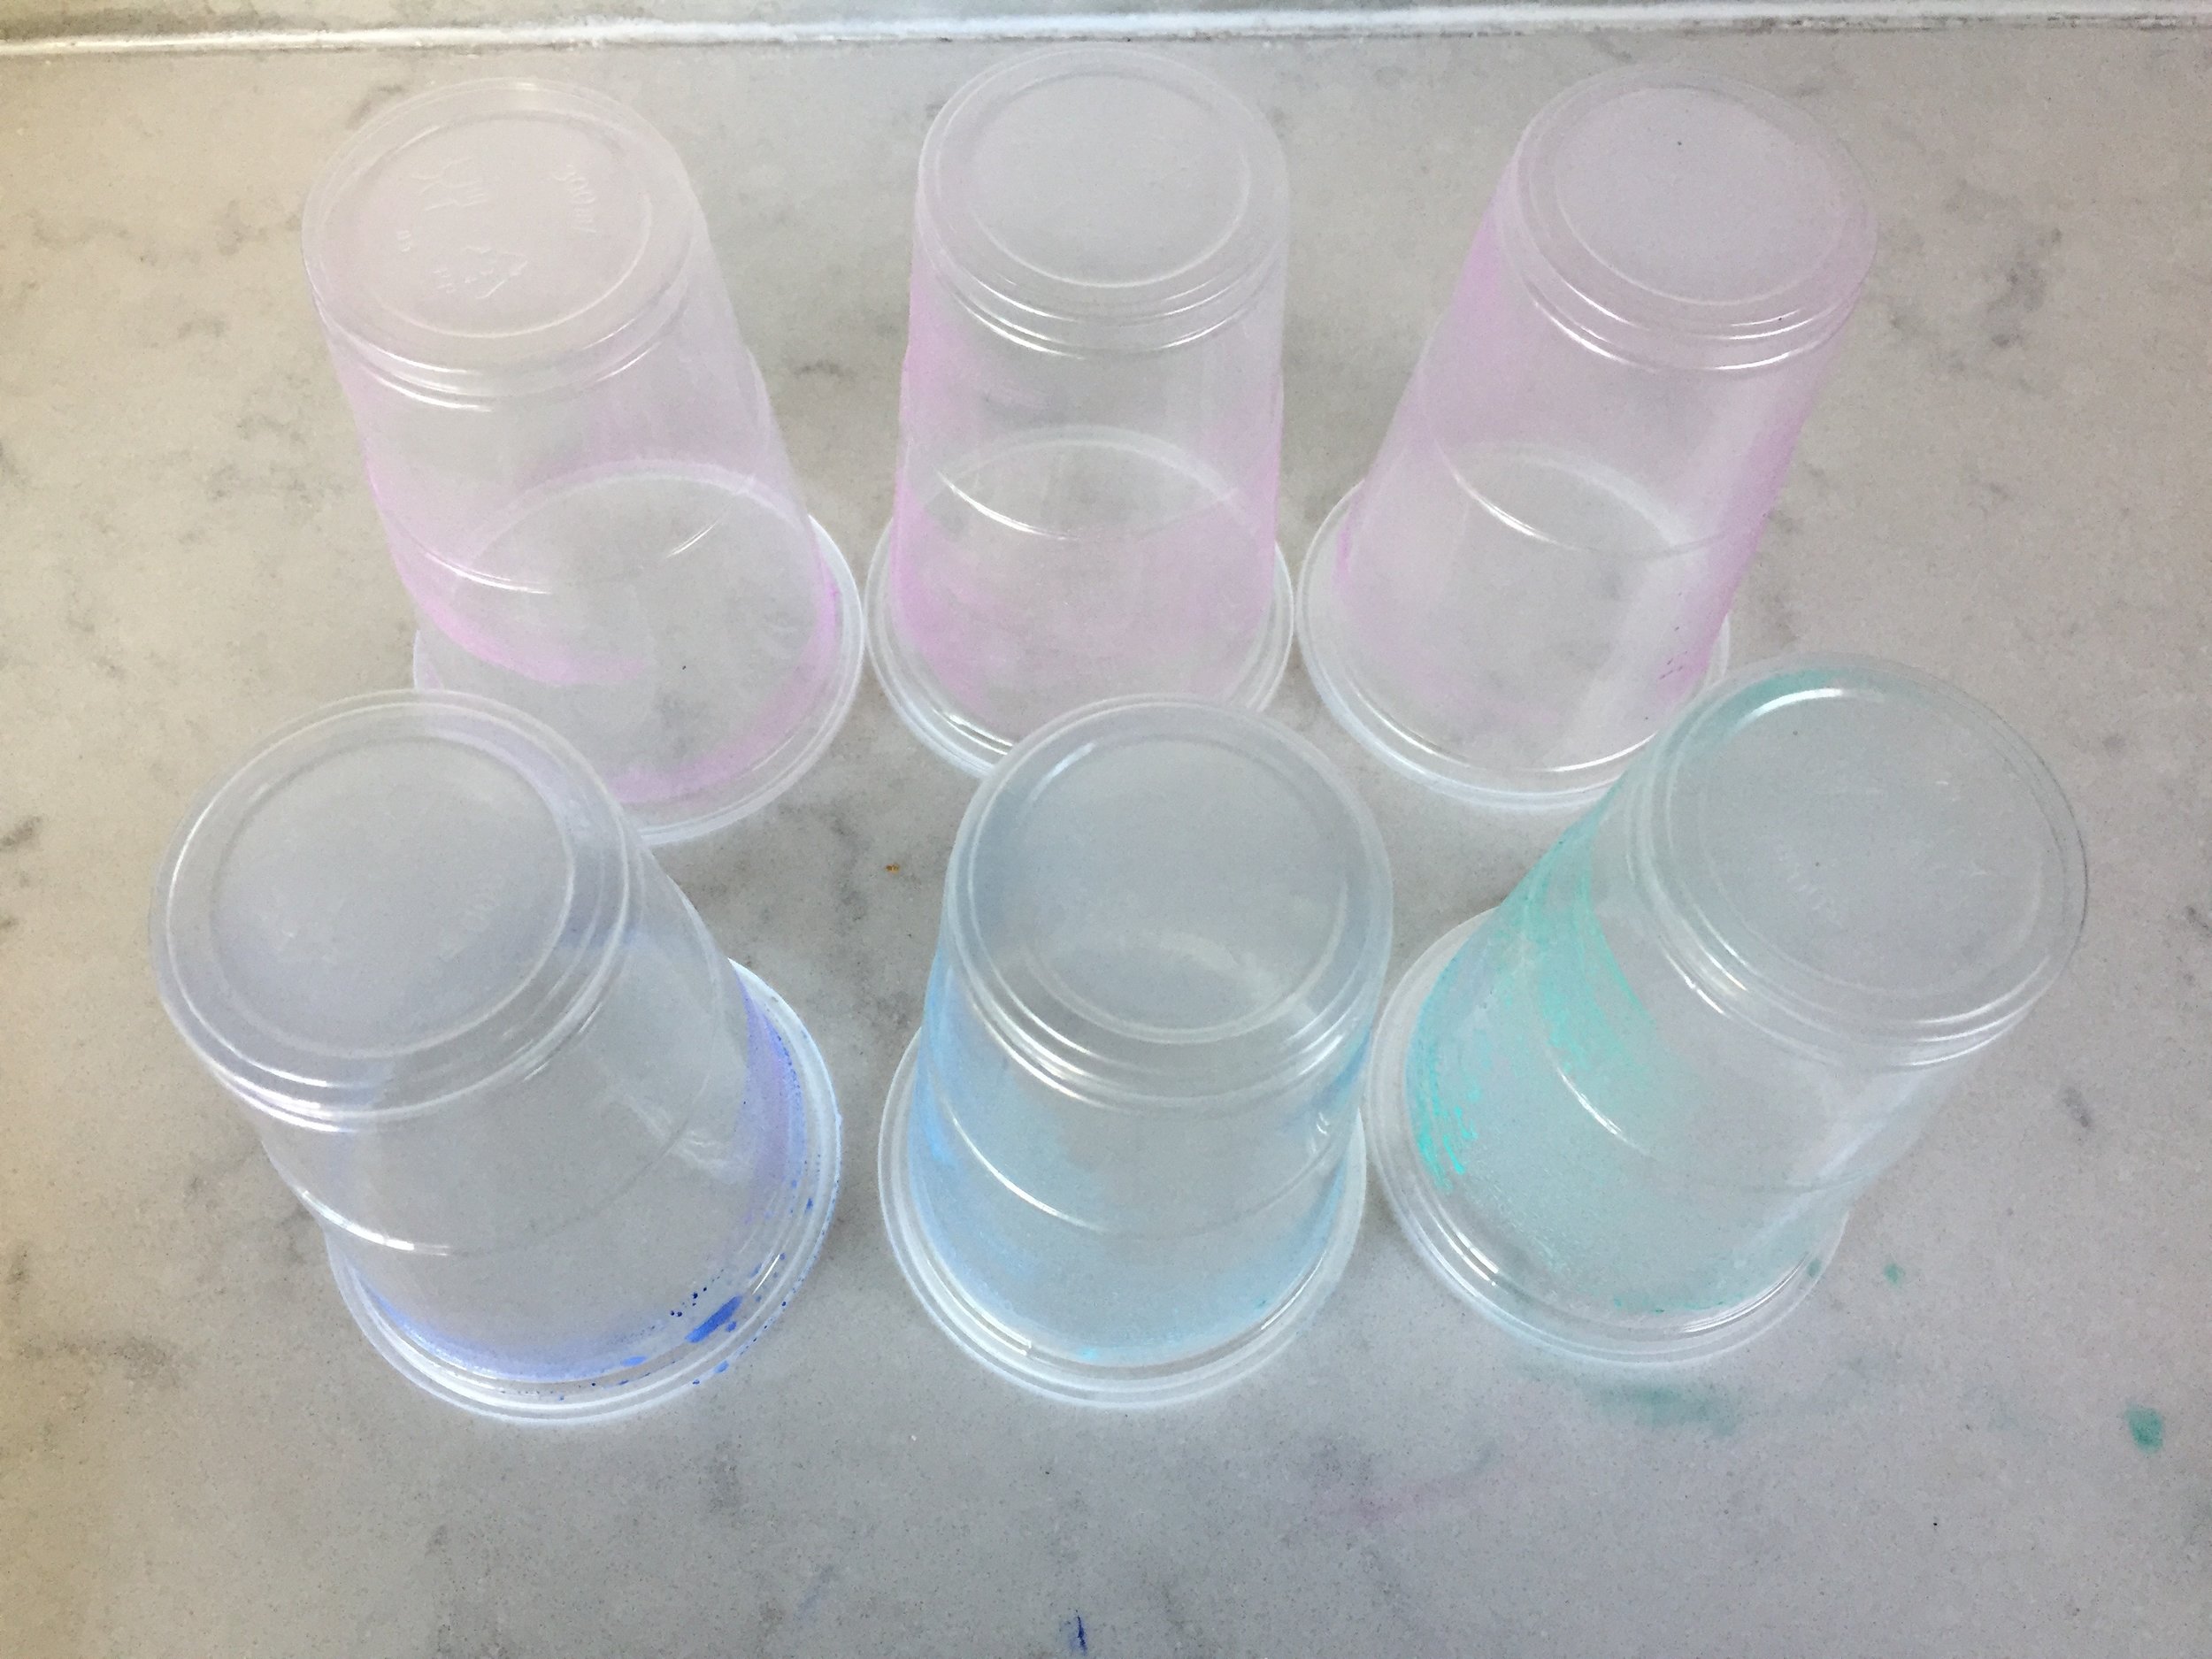
Here are some photos of how the cups looked before they went in the oven.
BEFORE


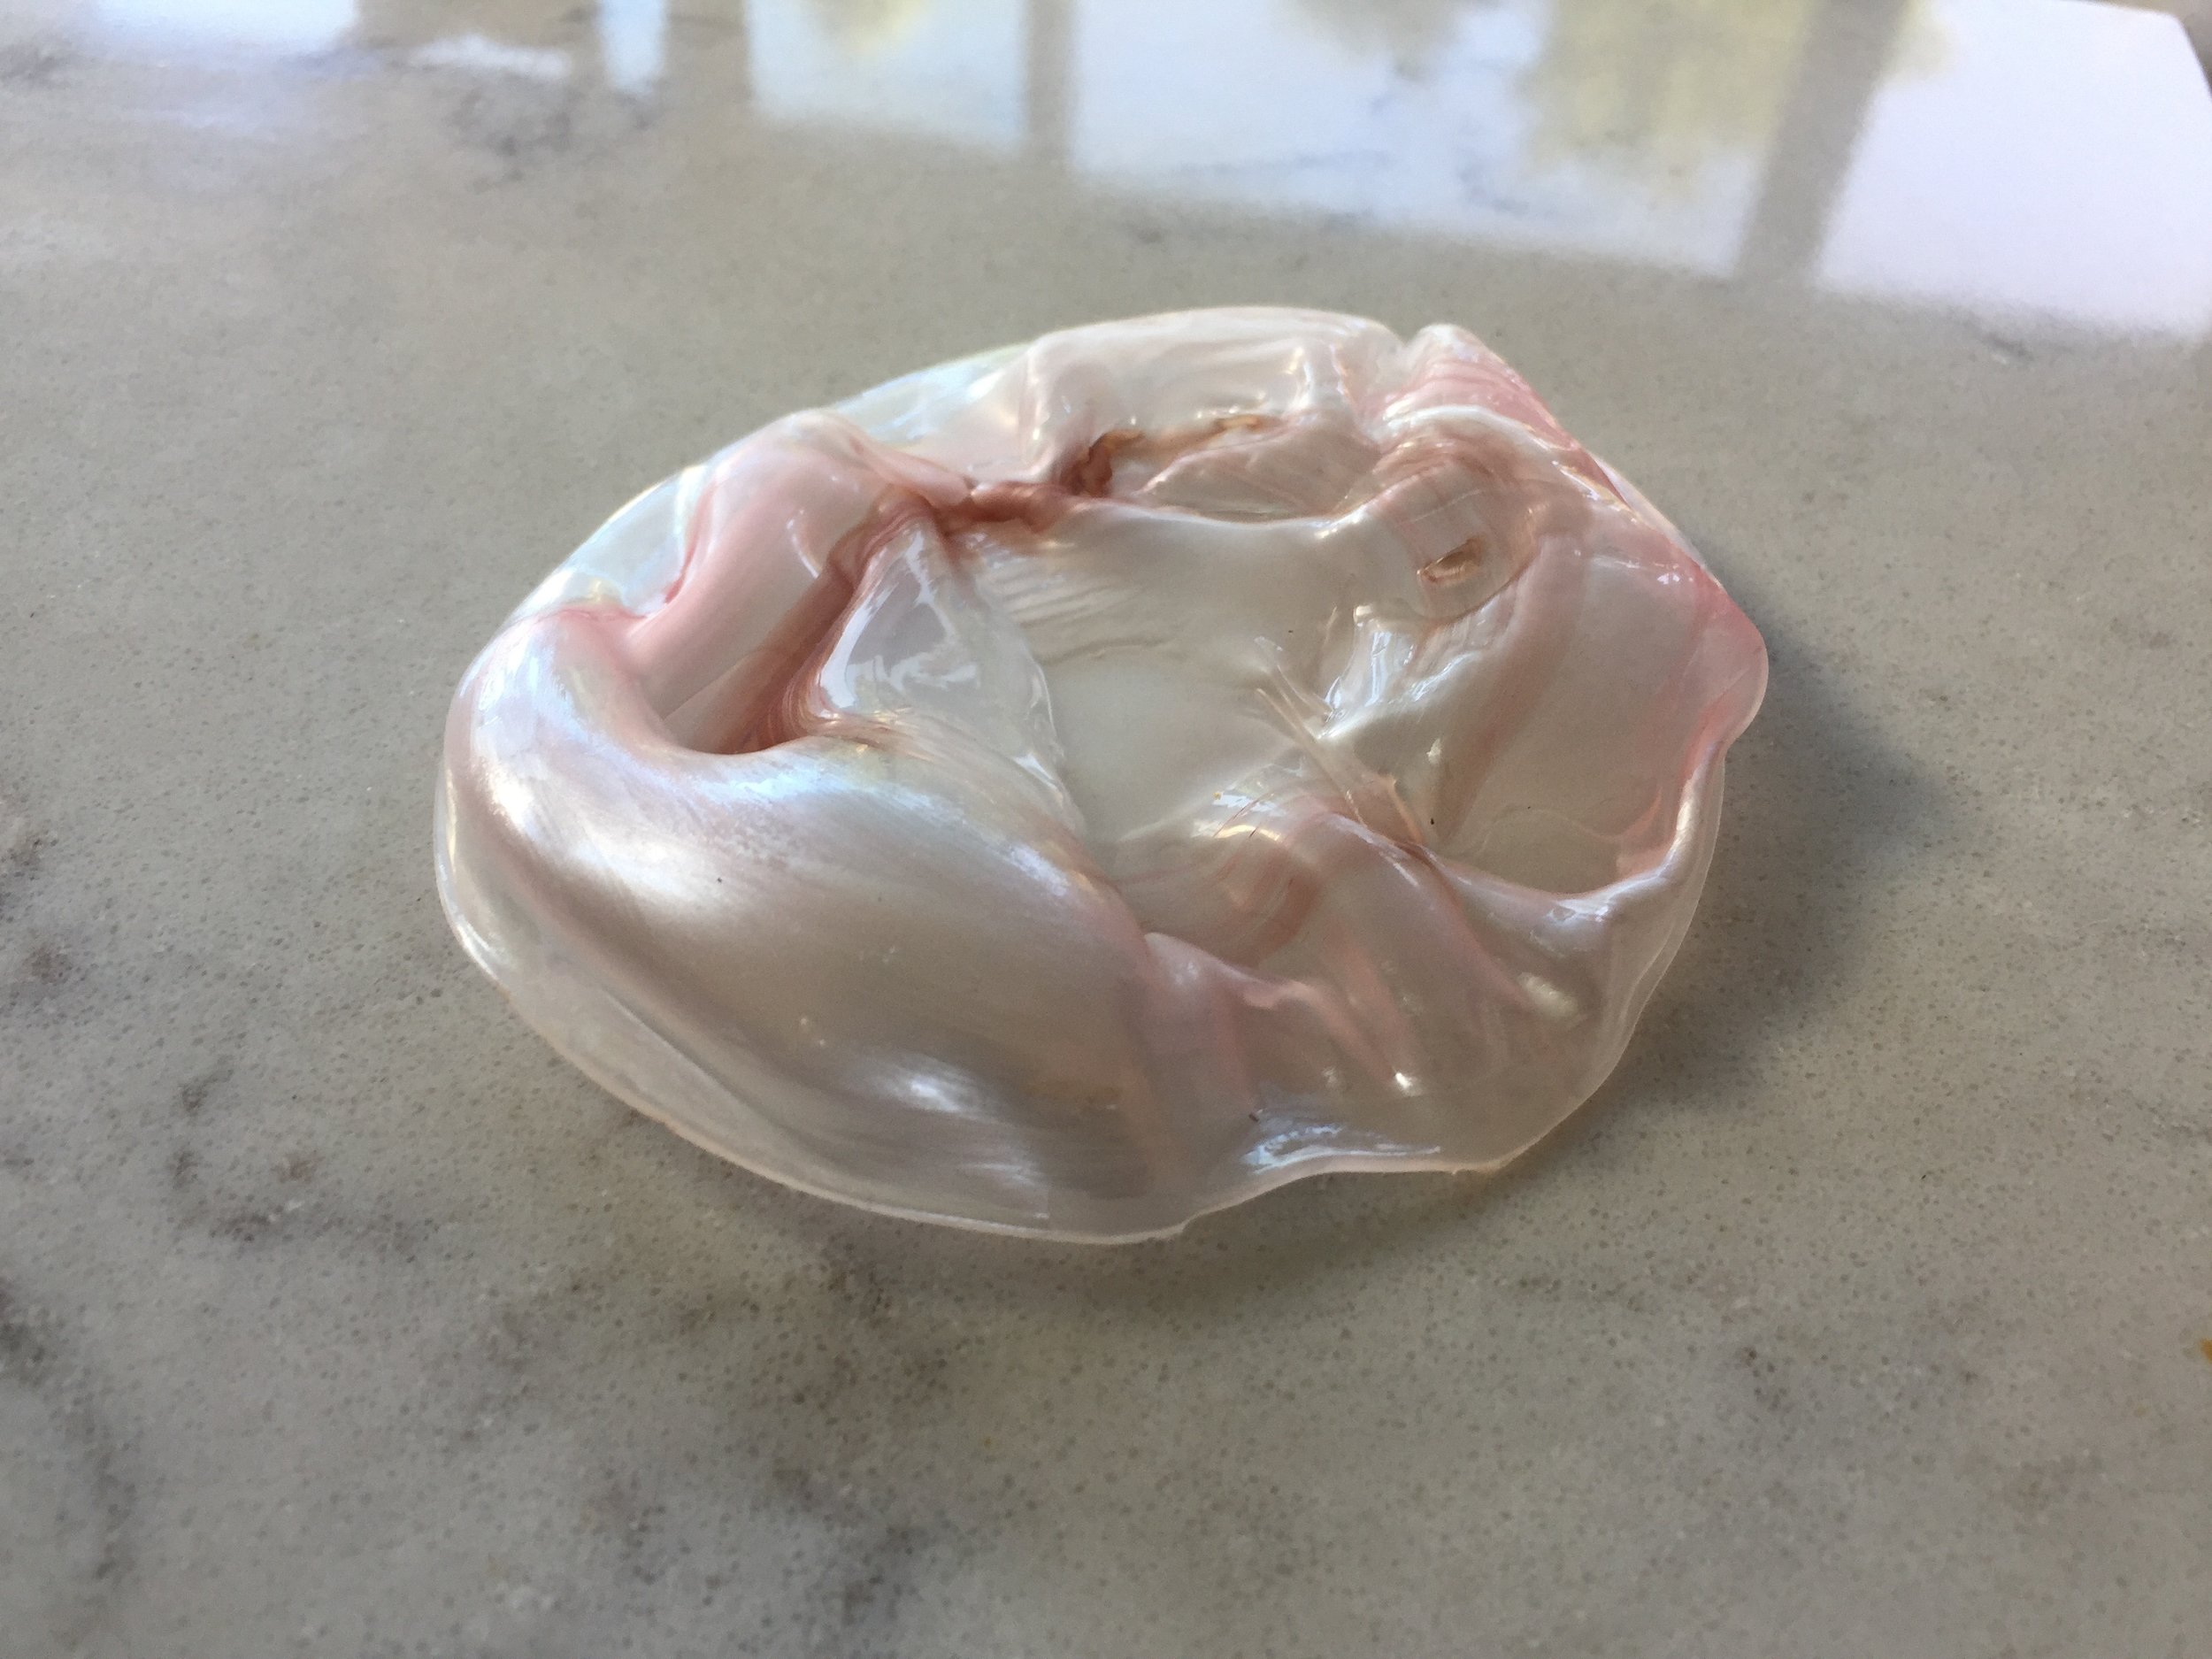
AFTER
The plastic comes out of the oven clear but quickly turns opaque as it cools.
TOP TIP! If there are large air bubbles when the cups come out of the oven quickly flatten them with a plate or palate knife otherwise they can be difficult to glue to the arms.
Step 3. MORE DECORATING
I used gold nail varnish to finish the lenses. You could leave the cups plain and decorate them after they have melted with nail varnish but I didn't have the colours I wanted to do this. Try highlighting the folds in the plastic or painting a gold rim around the outside of the lens.

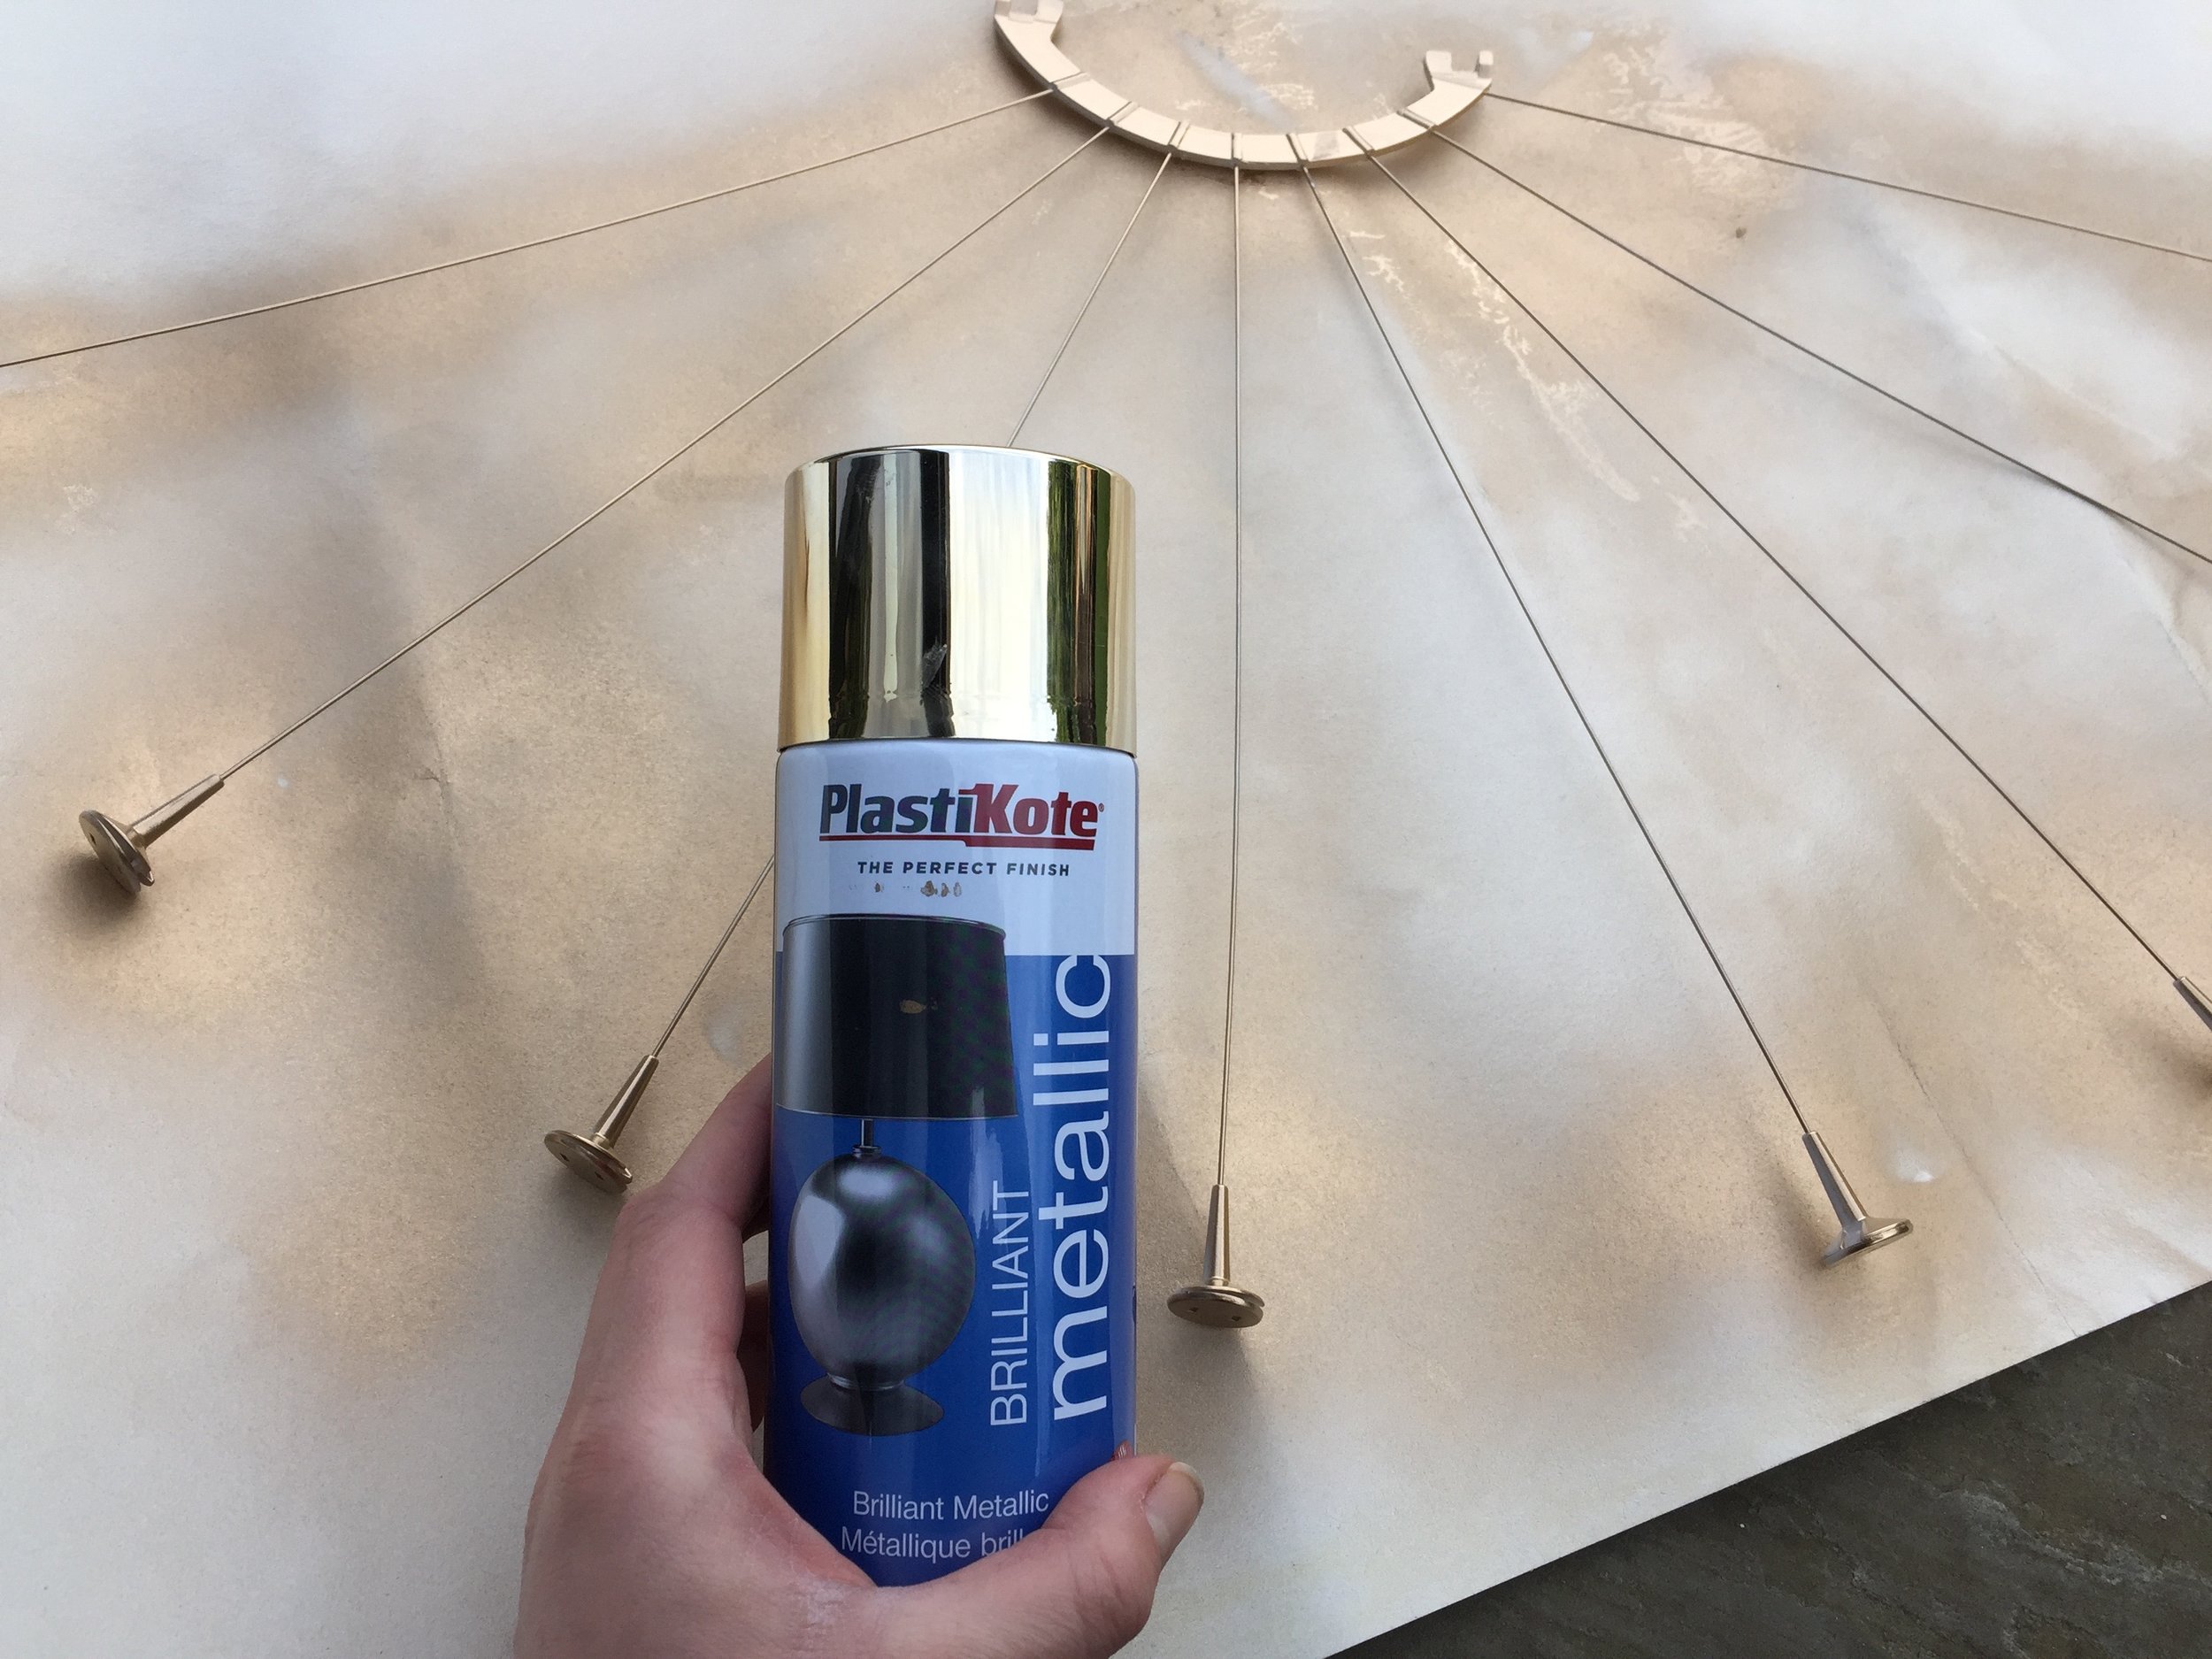
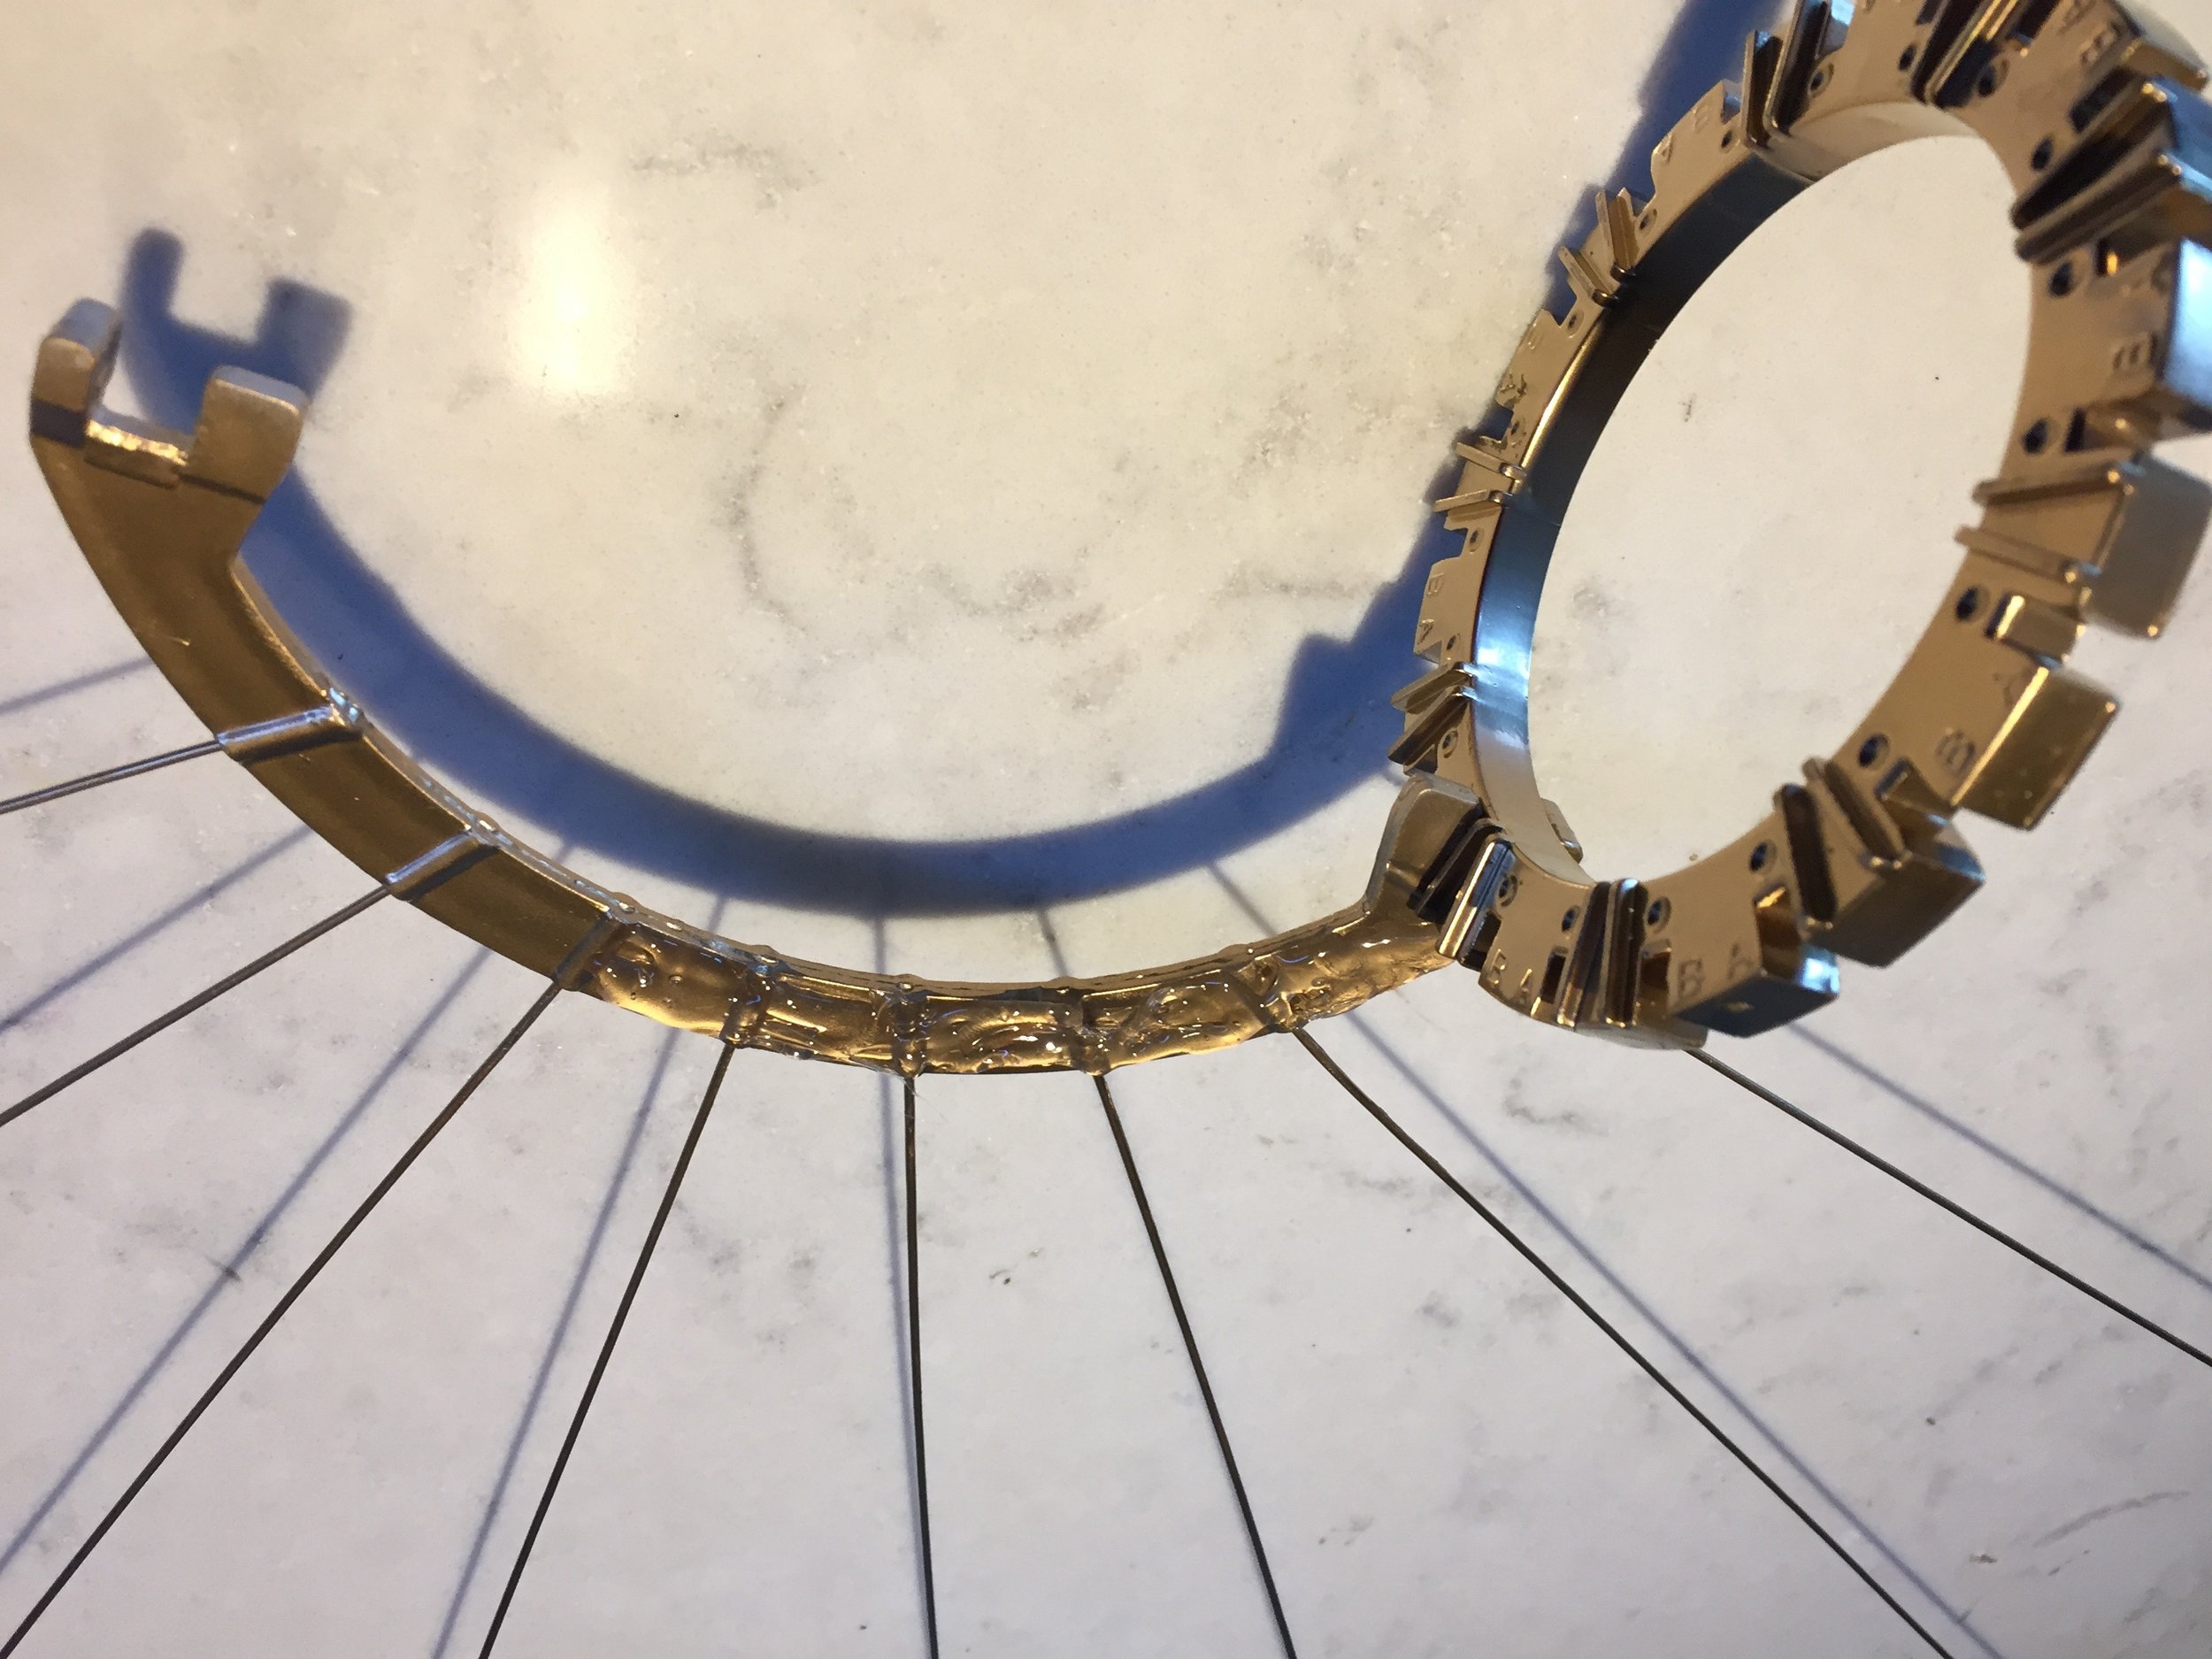
Step 4. GOLD!
I was going to actually gold leaf the base of the branches but a) I couldn't remember where I put the gold leaf and b) I couldn't be bothered. Instead I used Plasticote Metallic Gold spray for the whole lot. However I did want to try and de-Ikea the frame as much as I could so I covered the base of the branch in hot melt glue - i.e. from a glue gun. This was quick and once sprayed gave it an almost molten effect (glue before you spray, I did this as an after thought.) This step is entirely optional. If you do go for this, remember that you are only using half the branches so the two rings that you slot them into will have empty gaps where the 'B' branches should go (this will make sense once you have a Maskros in your hands) If I was doing it again I would glue over the 'B' slots to complete the molten look.
TOP TIPS
Spray the top of each circle at the end of each arm. Although this is what you are going to glue the lenses to, you will still see it through the lenses.
Make sure you get the edge that the actual wire arms come out of, this is tricky when they are flat on the ground.
If you don't want to rewire the Maskros ceiling rose and swap it for a brass one, spray the existing plastic rose and cable gold at the same time.

5, Assembly
I assembled the chandelier without the lenses first, this way you can see if you have missed anything with the spray paint and you can see which lenses look best as you go. Put a bulb in at this point, it gets tricky later on. Once you have your naked Sputnik, i.e. just spray painted without the flowers - which for those of you with little patience already looks cool, you can start glueing. I used a hot melt glue gun and glued the lenses directly on the end of the arms. Don't glue the little caps on to the lenses and then try to clip them on - the glue gets in the clip holes and stops them attaching properly. You only need a tiny dot of glue, about the size of a drawing pin. Hold the lens briefly in place and work methodically down each branch keeping an even spread of colours and textures. And that's it - your very own Murano Glass style sputnik Chandelier.

Costs
The Maskros PS 80 cm light is £80 new but I bought mine on Gumtree for £25
80 Plastic Disposable Cups 200ml. £1 for 20 BM Home Stores
Plastikote Metallic Gold Spray Paint £6.99 BM Home Stores
Glue - I used 3 sticks of Loctite Glue - £4 a pack from Screwfix or any DIY shop
Paints, permanent marker pens and nail varnish - these were all things I already had, and will use again.
Basically the project cost me about £45 - I think we can all agree that, that is the bargain of the century.